
ScreenPal is an application that records your screen with the option to add your webcam and microphone to customize your video. You may be familiar with Screencast-O-Matic software that was recently rebranded to ScreenPal. With ScreenPal you can record your entire screen or define just an area of your screen. It is often used for recording PowerPoint or Google Slides presentations, creating animated gifs, or to demonstrate a tool directly from your computer. It comes with a nice editor where you can remove mistakes, zoom in to focus attention, add overlays of video, text, shapes and images, animations and more. It saves the recording as a video file on your computer.
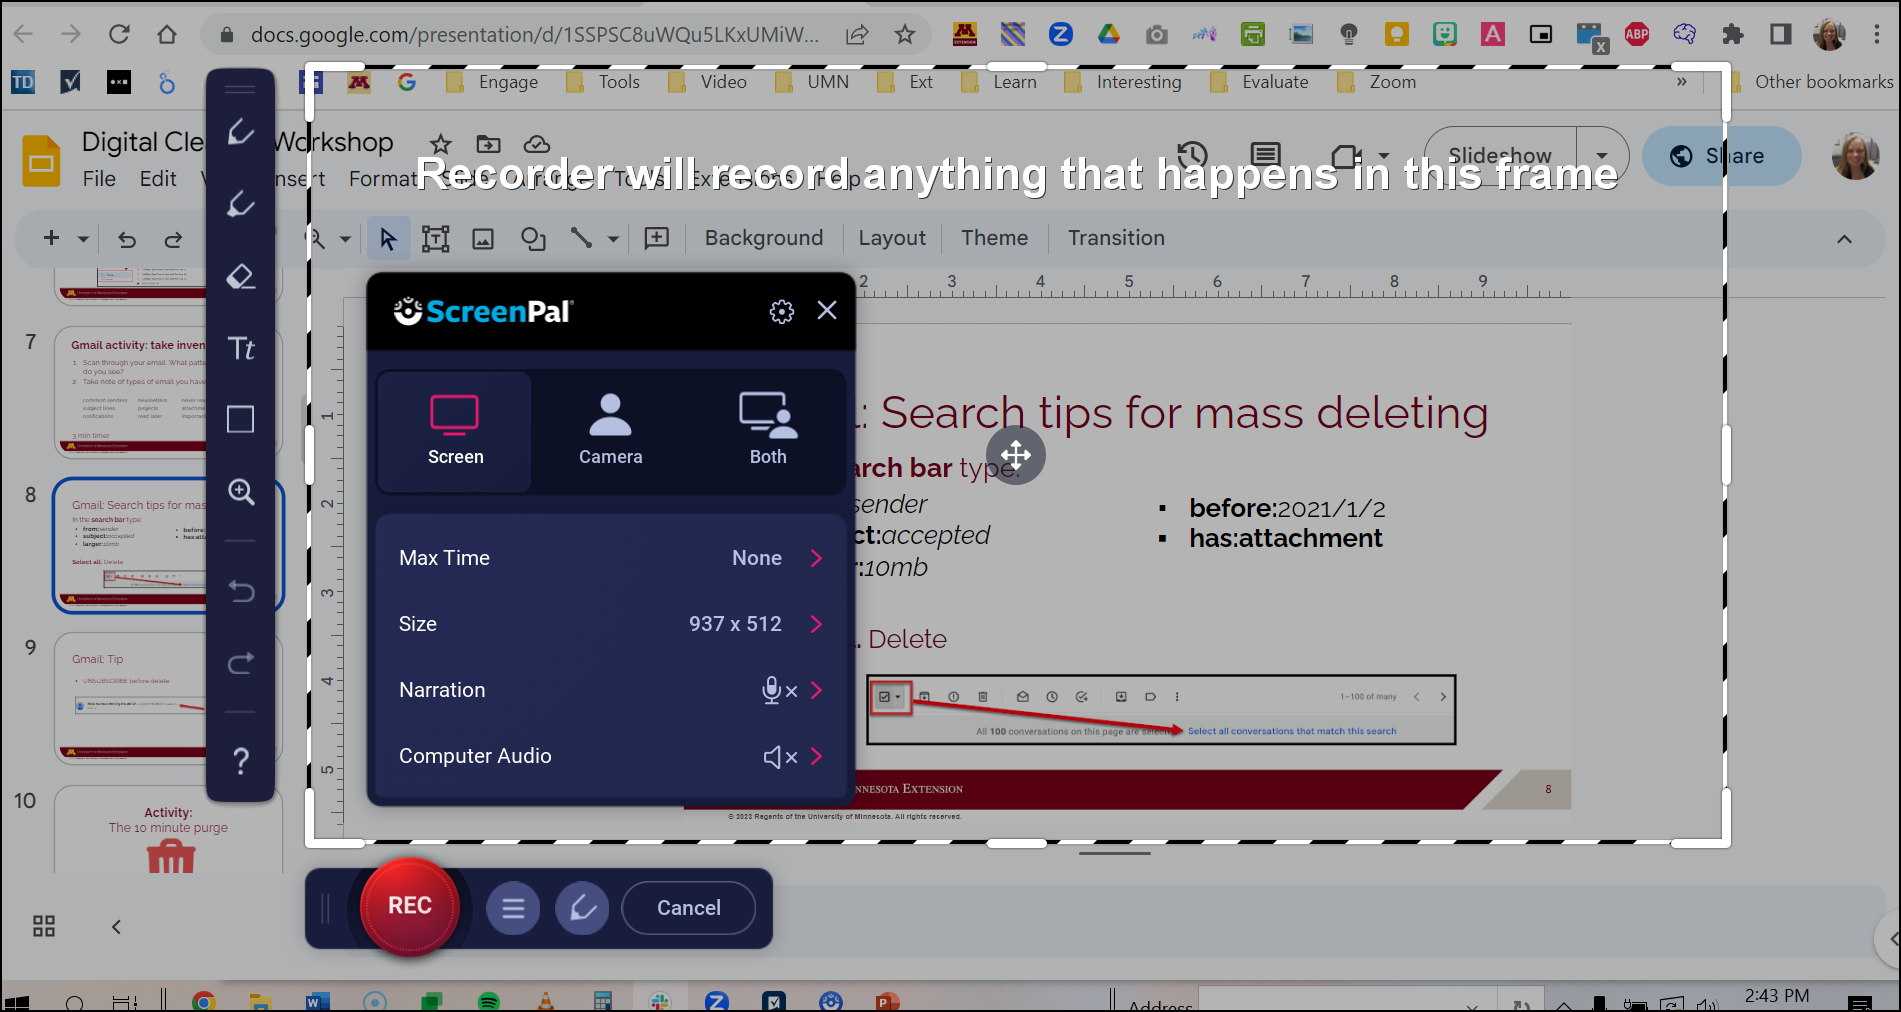 |
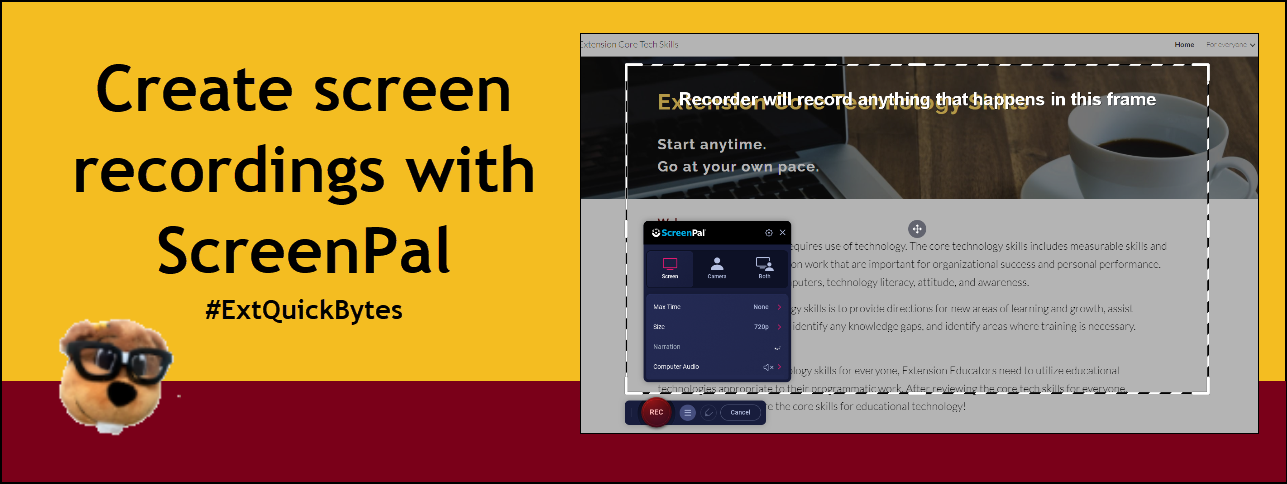
| How ScreenPal looks on your computer |
Uses for screencast videos:
- Explain a process
- Record narration over a PowerPoint or Google Slides presentation
- Create an animated gif
- Record an error message
- Demo how to use an application or navigate something complex
- Record a video message
- Give feedback
- Create a course introduction
Getting started with ScreenPal
ScreenPal is available to all University of Minnesota faculty, staff and students. Everything you need to know about downloading, installing and using ScreenPal can be found on the University of Minnesota ScreenPal webpage. If you are a past user of Screencast-O-Matic, you may need to quit the app before downloading and installing ScreenPal following these instructions.Note: After installing and logging into ScreenPal, you will stay logged in for 30 days, and you can open the ScreenPal app on your computer without logging in again. After 30 days, you will be prompted to log in again at https://screenpal.com/uofminn
How to’s, training and tutorials
ScreenPal training videos10 Tips for creating screencasts
- Clean up your computer desktop and close windows and apps you aren’t using.
- Turn off notifications while you are recording.
- Be mindful of what you are recording on your computer. There is a checkered box around the recording area.
- Use the Pause recording button to take a break between slides, websites, screens, etc.
- Keep it short.
- Record in a quiet place.
- Practice a few times to go through your talking points.
- Keep your mouth the same distance from the mic throughout the recording.
- Be intentional with your mouse movement and mindful of how quickly you are moving it.
- Strive for a neutral, pleasant and even voice recording.
Comments
Post a Comment